Today while watching the Cyclones beat KU I made one. I followed this tutorial http://www.lemonsqueezyhome.com/2010/05/wetbag-tutorial.html, but modified the dimensions to be 17"x20".


 I made this "hooter hider" or nursing cover for a friend. She saw mine, and I offered to make one for her as a gift. She picked the fabric and I love it. Brown is so in right now, and they are going to be surprised in the delivery room so it works well. Plus I think the cover up is for the mom, not the kid so do what you want! Since she paid for the fabric, I wanted to buy so it would truly be a gift, but she beat me to it, I decided to throw in three burp clothes. These have been over done in the craft world, but everyone needs them and it is super simple to sew an accent onto a cloth diaper.
 I did this a while back, but thought it was share worthy. When my daughter moved into her room, I grabbed the furniture from craigslist. I painted it white added some fun pulls (more on that to come), and decided to line it. Since the dresser and vanity were used I wanted to line the drawers, I think it warranted something a little more substantial and fun than contact paper. Scented paper was a little spendy and not readily available in my town. I ended up using fabric.
 I took a large piece of cardboard, placed the drawer on top of the cardboard and traced around the drawer. Use an exacto knife to cut out your cardboard, you can keep to the inside of the line traced as you want it to fit inside your drawer.
 Cover the cardboard in glue (I used plain crafters glue, but I think this would be a great place to use spray glue). Place the cardboard on top of your fabric. Cut the fabric to size leaving enough to fold over the edges.
 Fold over the edges, nothing fancy as you can see here. I was pretending I was upholstering a seat, so I would keep the top side nice looking.
 Once your fabric is glued on, insert it into the drawer. It should fit snugly. Here is the top drawer with all of those lovely hair accessories!
Red bandanna skirt, along with applique shirt (from last season 4th of July)

Hot Pink dress ready for summer
 This shirt and skirt combo will be gifted this week. What three year old girl won't be thrilled with a Dora shirt and skirt.
For the shirt, I cut out Dora, Boots and the little star, and used fusible web to place them on the t-shirt. The skirt, is crafted using the same basic principles as the bandana skirt. I cut fabric the size of half a bandana and went from there. The only change I made was adding an accent piece of fabric at the waist as well as the hem.


 Jeans, as you can see they are a little worn, so they are ready to be reworked.
 I cut off the bottom three inches, I just guessed as my model was sleeping. I probably would have made them a little shorter if I would have measured.
 Turn the jean inside out and turn up a hem, mine was 1/2". You can take the time to serge or zig-zag stitch the raw edge if you want too.
 Turn right side out and pin decorative trim in place. I chose this frilly eyelet. I used almost 3/4 yard for size 24 month jeans. I liked that this trim has a scallop edge as it will be a little forgiving if I don't sew it on straight. Sew trim on with a straight stitch!
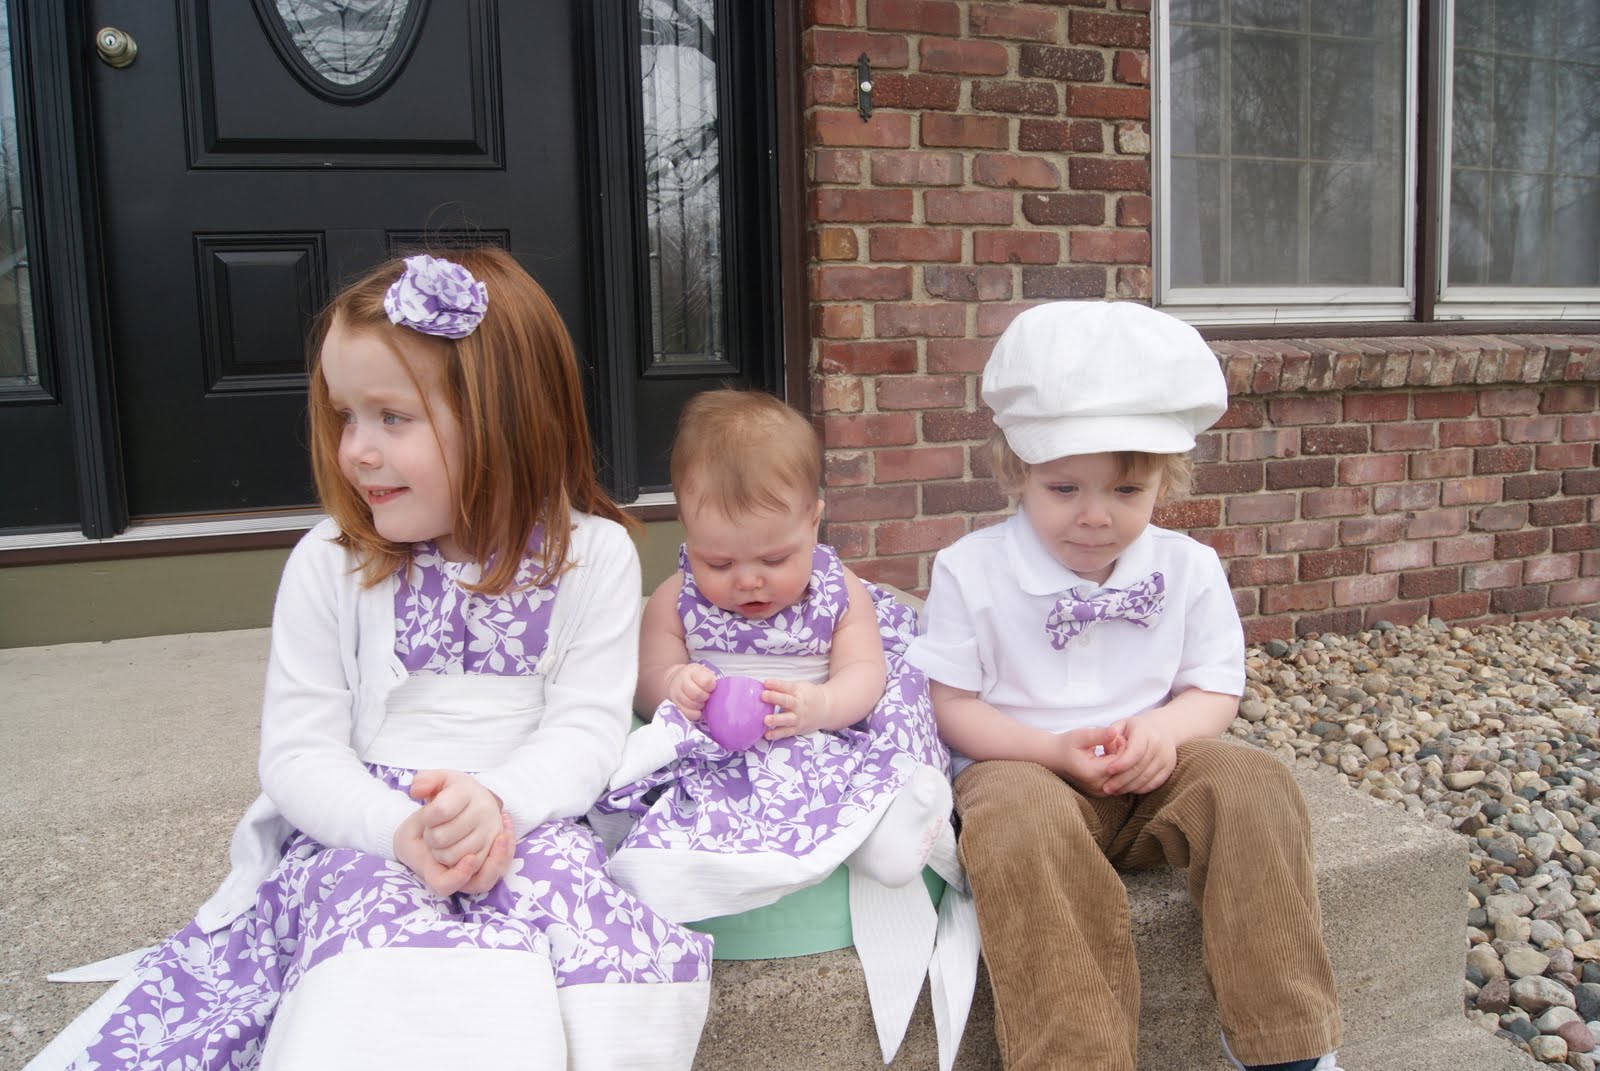
 A sneak preview of what I have been up too. This will be for the little guy to wear on Easter Sunday. I used the tutorial from this site. I used a onsie I had, and grabbed the fabric from an old shirt. The project has cost me zero dollars so far. I am planning on stitching around the tie, but want to pick up a contrasting thread.